Showing posts with label Recipe. Show all posts

Friday, 12 April 2013

RECIPE: Chilli Coconut Chicken

I'm going to try and start blogging a few recipes that I've put together or found on the Internet that have made eating alot of meat and vegetables that little bit more interesting.  This is a Phase 2 recipe as now I'm introducing a few things back into my diet - in the case of this recipe coconut milk.  So here goes:

Serves 2

1 chilli finely sliced (if you don't like food so hot then deseed and slice)
1 heaped tsp finely chopped or grated ginger
1 teaspoon of organic virgin coconut oil
2 chicken breasts, washed and sliced into thin strips
1 bunch spring onions
1 pepper chopped into chunks
200g broccoli florets
1/2 carton about 200ml organic coconut milk
20g organic dessicated coconut

Heat the coconut oil in a large pan or wok on a medium heat, then add the chilli and ginger for a few minutes stirring occasionally to prevent sticking/burning (you don't want this to brown just to soften).  Next turn the heat up a little and add the chicken.  Once the meat is sealed (about 3-4 minutes) add in the vegetables and sautee for a few minutes until the onions and peppers being to soften a little.  Add in the coconut milk, stir and put a lid on the pan and leave stirring occasionally for about 5 minutes or until the broccoli is cooked to your liking (I prefer mine a bit perky).  Once you are happy that the broccoli and chicken are cooked (the chicken may take longer if you have cut it into larger strips/chunks) turn the heat off and sprinkle over the dessicated coconut.

I had this on its own but if you want you could serve the chicken over more lightly steamed vegetables.

Enjoy!
Nutrition Information (per serving)
Calories: 456
Carbohydrates: 20g
Fat: 21g
Of Which Saturates:16g
Protein: 44g
Fibre: 8g

Friday, 8 February 2013

Oat Bran 101

I'm not totally sure what it is you're meant to do with oat bran, I first bought it because I wanted a porridge style breakfast but with more of the oat fibre than just the rolled oats gives.  I used to just add it in to porridge but then thought why not just make the porridge out of the bran instead.... and then one of my favourite breakfasts was born!

Again I don't know if that's what you're meant to do with bran and if it is you're probably supposed to make it on the hob but when you work in a tiny office in town that's not going to happen so here's how I make it, and I might be biased but I think it's pretty tasty:

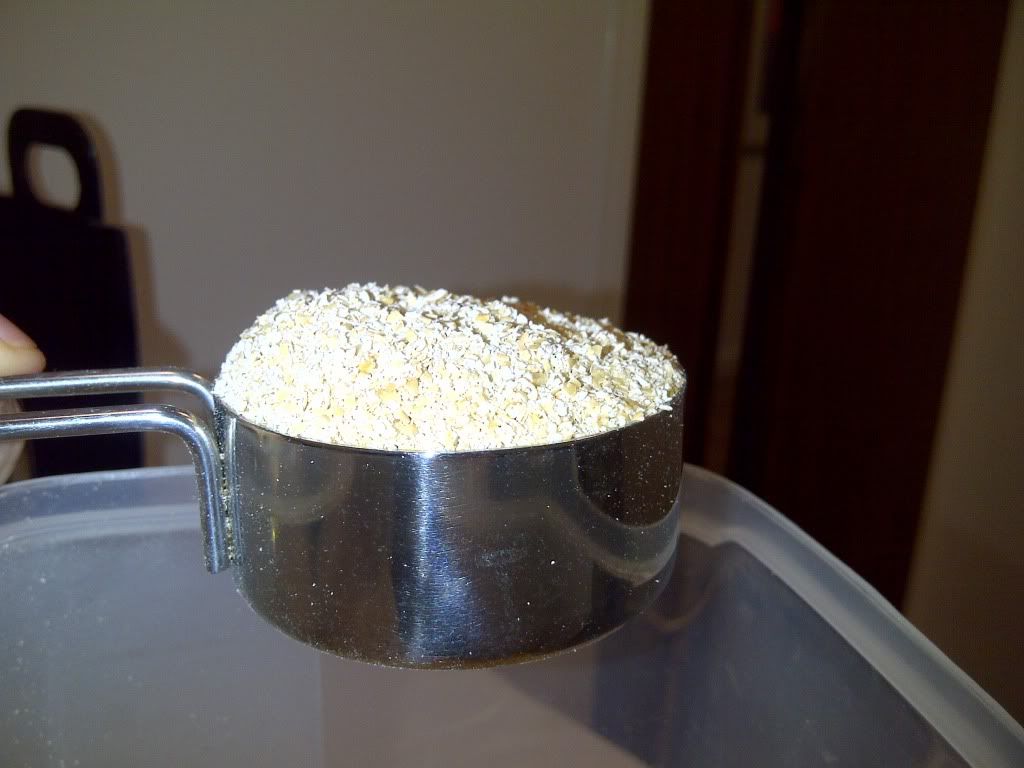
Take 1/4 cup of oat bran (about 35g) and put it in a microwavable (is that a word?) bowl:


Then add about 100ml of milk ( I always add less as if it gets to thick you can add a bit more later) and stir it all together:


Then pop it in the microwave on high for 1 minute (mines an 800w so different power might need more/less time) after that take it out and give it a stir and see if its the consistency you want, if it's too thick put a dash more milk in and stir, if it's too runny then put it back in the microwave for a bit longer until it looks a bit like Ready Brek:


And now the fun bit :) You can put in pretty much whatever you want, protein powder, dried fruit, and for a treat a tsp of chocolate chips is nice.  I normally add in a spoonful of organic dessicated coconut, a heaped teaspoon of crunchy peanut butter and 40g of blueberries:

 
Give that all a good stir up and......

Enjoy!

Thanks to MyFitnessPal working it out for me I can tell you that the breakfast comes in at:
 Calories: 382
Carbs: 28g
Fat: 23g
Protein: 14
Sat Fat: 12 (9g of that is coconut so don't worry)
Fibre: 9g

Tuesday, 7 August 2012

Recipe: Cauliflower Cottage Pie

Ingredients (Serves 6):

25g butter
2 medium onions peeled and diced
500g lean steak mince
3 medium carrots peeled and finely chopped
150g frozen peas
3 beef stock cubes
2 heads of cauliflower
Salt and Pepper

Method:

Melt half the butter in a large pan, add the diced onion and cook gently until the onion is soft and not coloured.  Next add the steak mince to the pan and stir with the onion until all of the meat is brown.

Add the chopped carrot and frozen peas and crumble over 2 of the stock cubes.  Make up 300ml of stock with the remaining cube and pour over the mince.  Stir, season and put a lid on the pan and let that simmer gently whilst you make the cauliflower topping (you may need to stir this occasionally to prevent the mince sticking to the pan).

Whilst the mince is simmering remove the outer leaves of the cauliflower discard.  Chop the cauliflower and stalk into even pieces and then steam for around 8-10 minutes or until the cauliflower is soft.  Drain and set aside to cool.

Whilst the cauliflower is cooling, drain the mince (you can use any liquid that drains from the mince to make gravy if you like).  Transfer the mince into a large rectangular oven dish and spread evenly over the bottom.

Once the cauliflower has had a few minutes to cool transfer it to a food processor and blend with the remaining butter and seasoning.  The cauliflower will become a smooth puree, if it is still lumpy after a few minutes blending then scrape the sides of the blender with a knife and blend for a few minutes more.

Spoon the cauliflower on top of the mince and place in the middle of a preheated oven (200c) for about 20 minutes:


Personally I think this tastes much better than potato mash on the top, its really smooth and creamy and lighter in calories and fat as I used much less butter than I ordinarily would and no milk.  I think next time I might try a healthier shepherd's pie with lean lamb mince and parsnip puree.

Calories per serving: 280 (according to MyFitnessPal)
Carbs: 14g
Fat: 15g (of which saturates 7g)
Protein: 23g
Fibre: 6g

Wednesday, 11 July 2012

Recipe: Pea and Lettuce Soup

Ok so I know it doesn't exactly sound mind blowing but I promise this soup is delish!

Serves 4
Ingredients:

425g frozen peas (I use petit pois but I don't think it matters what you use)
2 baby gem lettuces
One medium white onion
25g butter
1 litre stock (I use chicken but veg stock would work too)
Juice of half a lemon
Salt and Pepper
Crispy bacon (optional)

Firstly dice the onion, melt the butter and then add the onion to the pan:

Whilst the onion is softening (try to make sure it doesn't colour) chop up the lettuce and measure out your other ingredients - I've found that a half litre pyrex jug filled to the top with peas is almost exactly 425g and loads easier than measuring.


Once the onions are soft add the lettuce to the pan followed by the lemon juice.  I didn't have any fresh lemons so I used some lemon juice in a bottle.  Then add the frozen peas and stock, stir, season and bring to the boil.


Once the soup has boiled turn down to a simmer and put the lid on the pan and let that cook gently for about 20 minutes until everything is soft.  I use a hand blender to whizz up my soups but if you are using a food processor or proper blender allow the soup to cool first before blending.  Taste the soup to see if it needs any more salt and pepper.

If you are going to add bacon then whilst the soup is simmering pop it under the grill until its really crispy, then once cool break up into small chunks:


Sprinkle on top or stir into the soup and serve:

Wednesday, 4 July 2012

Recipe: Cheese and Bacon Stuffed Pasta Shells

Here's the recipe for what I had for dinner tonight - bacon and cheese stuffed pasta shells.  I blogged about these once before and was asked a couple of times for the recipe then so tonight when I made them I took some step by step pictures so here it all is!

Ingredients: (serves 4)

200g large pasta shells (about 24 - I normally do 26 in case some break/stick whilst cooking)
700g jar or carton of tomato passata
300g soft cheese
50g breadcrumbs (I use panko)
1 onion
12 rashers of smoked streaky bacon
125g ball of fresh buffalo mozzarella

Preheat the oven to 200 degrees (fan oven).  Put a pan of water on to boil and once boiling add salt and the pasta shells and cook for about 8-10 minutes until tender but not overcooked.  Whilst the shells are cooking chop up the bacon and onion and fry together until the bacon is cooked and the onion is soft. 

Drain the pasta shells, rinse under the cold tap and leave to cool (if you pour a little olive oil over the shells after you have rinsed them it will help to stop them sticking together):


Mix together the bacon and onion with the cream cheese and panko breadcrumbs, taste and season:


Poor the passata into a large rectangular oven proof dish and then using a teaspoon take one cooled shell and spoon the filling into the shell:


Place the shell into the tomato sauce and continue to fill all of the shells in the same way until you have filled the whole dish:


Once the dish is filled slice or tear up the mozzarella:

Top the shells evenly with the mozzarella:

Put into the hot oven and bake for around 20 minutes until the cheese is melted and golden and the passata is bubbling.

ENJOY!